Okay, so today I wanted to mess around and recreate the Marvel Snap logo, you know, the one from that card game everyone’s playing. I thought it would be a fun little project to kill some time. Here’s how it went down.
Start with the Basics
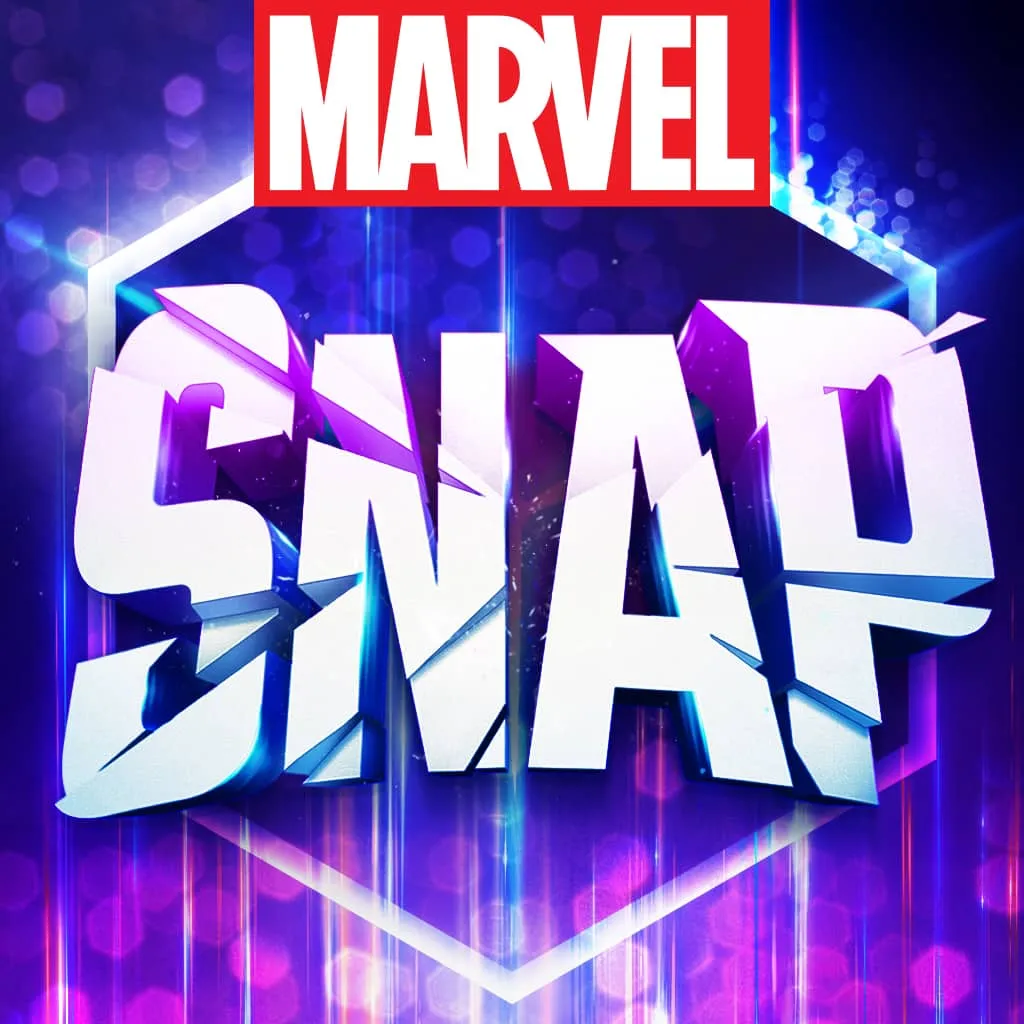
First things first, I needed some reference images. I just did a quick search and grabbed a few good-quality images of the logo. This was going to be my guide. The logo’s pretty straightforward—it’s basically the words “MARVEL” and “SNAP” in a bold, kinda comic-book font, with some cool effects.
Setting Up the Text
I fired up my go-to design software. I just wanted to get the basic text down first. I typed out “MARVEL” and “SNAP”. Now, the font they use in the logo is pretty unique, so I couldn’t just find an exact match. But I looked through my fonts and picked one that had a similar feel—you know, bold, blocky, a little bit edgy.
The “MARVEL” Part
The “MARVEL” part of the logo has this cool gradient. It starts with a dark red at the bottom and transitions to a lighter, almost orange-ish red at the top. I used the gradient tool to try and match this. It took a little tweaking, playing with the colors and the angle of the gradient, but I got it pretty close. It’s all about those subtle changes that make it look right.
The “SNAP” Part
Now, “SNAP” is where it gets a bit more interesting. This part of the logo has a cracked, almost shattered look. I tried a few things, used to draw some lines by hand, or use some filters. Finally, I got a way to get that cracked look, it is not perfect but it works.
Adding Some Shadows
To really make the logo pop, I added some shadows. The “MARVEL” part has a drop shadow that’s not too harsh, just enough to give it some depth. For “SNAP,” the shadow is more dramatic, to go with that broken effect. It’s these little details that help bring the whole thing to life. I spent some time adjusting the blur, the angle, and the opacity of the shadows until it looked just right.
Final Touches
After the main parts were done, I went in for some final touches. I adjusted the spacing between the letters to make sure it matched the original logo as closely as possible. I also added a slight outline to the text to help it stand out more. It’s amazing how much difference a thin outline can make.
Admiring the Work
And there you have it, my attempt at recreating the Marvel Snap logo. It’s not a pixel-perfect replica, but I think it captures the essence of the original. It was a fun little project, and it’s always cool to see how close you can get to something just by playing around with different tools and techniques. I’m pretty happy with how it turned out, and it was a nice way to spend an afternoon.
So, that’s my process for recreating the Marvel Snap logo. Hope you enjoyed this little breakdown. It’s always fun to dive into these kinds of projects and see what you can come up with. Until next time, keep creating and keep having fun with it!


