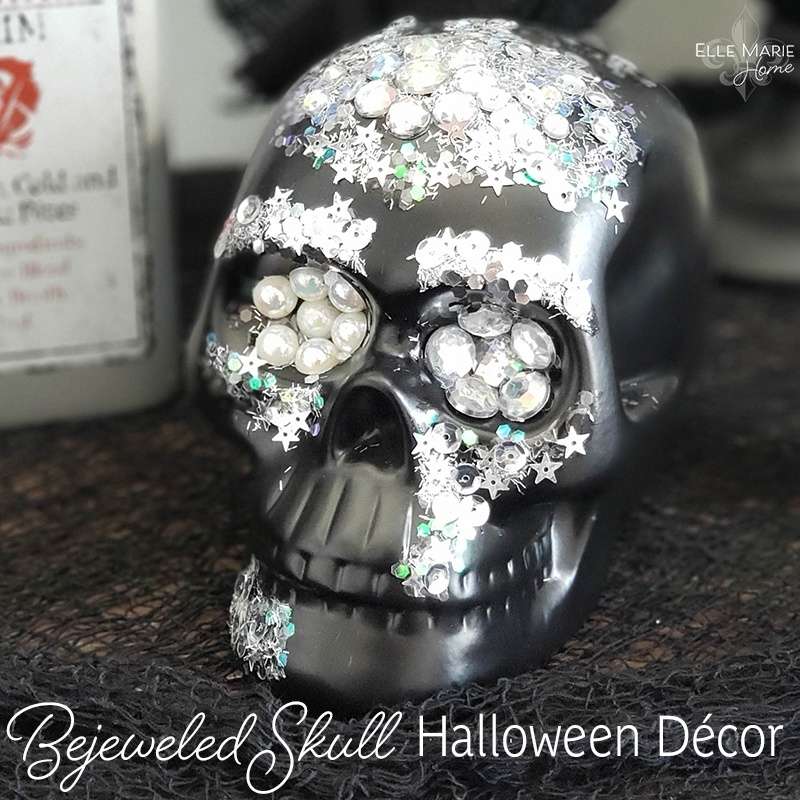
So, I decided to try my hand at making a sparkly skull. I’d seen a few floating around online, and they looked pretty cool, so I figured, why not give it a go?
First, I gathered my materials. I needed a skull, obviously. I found a cheap plastic one at a craft store. Then I grabbed some glitter, glue, and a few other bits and pieces like sequins and feathers. I wasn’t really sure what I was doing, but I figured I’d just wing it.
Getting Started
I started by giving the skull a good coat of glue. I used regular white glue, the kind you use for school projects. I slathered it on pretty thick, making sure to get into all the nooks and crannies. Then came the fun part – the glitter!
Adding the Sparkle
I had a bunch of different colors of glitter, but I decided to go with a classic silver. I sprinkled it all over the glue-covered skull, making sure to get a nice, even coating. It was messy, let me tell you. Glitter went everywhere! But it was worth it. The skull was already starting to look pretty awesome.
- Cover the skull in glue. Make sure you get into every nook and cranny!
- Sprinkle glitter over the glue. Don’t be shy, use lots!
- Let it dry. This part takes the longest.
Adding Some Extra Flair
Once the glitter was dry, I decided to add a few extra touches. I glued some sequins around the eyes and on the forehead, just to give it a bit more bling. I also added a few feathers to the top of the head, because why not? It’s a sparkly skull, it should be over the top!
The Finished Product
After all that, I was finally done! And I have to say, I was pretty proud of myself. The sparkly skull turned out way better than I expected. It’s definitely a unique piece of decoration, and it’s sure to be a conversation starter.
So, that’s the story of how I made a sparkly skull. It was a fun little project, and it’s something I might try again sometime. Maybe next time I’ll use different colors of glitter, or try adding some other decorations. The possibilities are endless!


