Alright, so I wanted to get my MyPlayer’s layup package looking fresh in NBA 2K24. I’d seen some crazy highlights online and wanted to get in on that action. Figuring out the layup animation requirements was the first step, so I dove right in.
My First Steps Research
First, I hopped online searched and read many articles. The most important thing is that I kept searching and comparing repeatedly until I found the information I needed.
Experimenting in MyCAREER
Armed with this basic info, I jumped into MyCAREER. I started messing around with different layup styles in games, trying to see what worked and what didn’t. I focused on getting my driving layup rating up, spending those hard-earned VC points.
- Tried different layup packages: I equipped various packages, some basic, some flashy, just to see how they felt in-game.
- Focused on driving layups: I made a conscious effort to drive to the basket more often, even if it meant forcing it a bit. It’s all about practice, right?
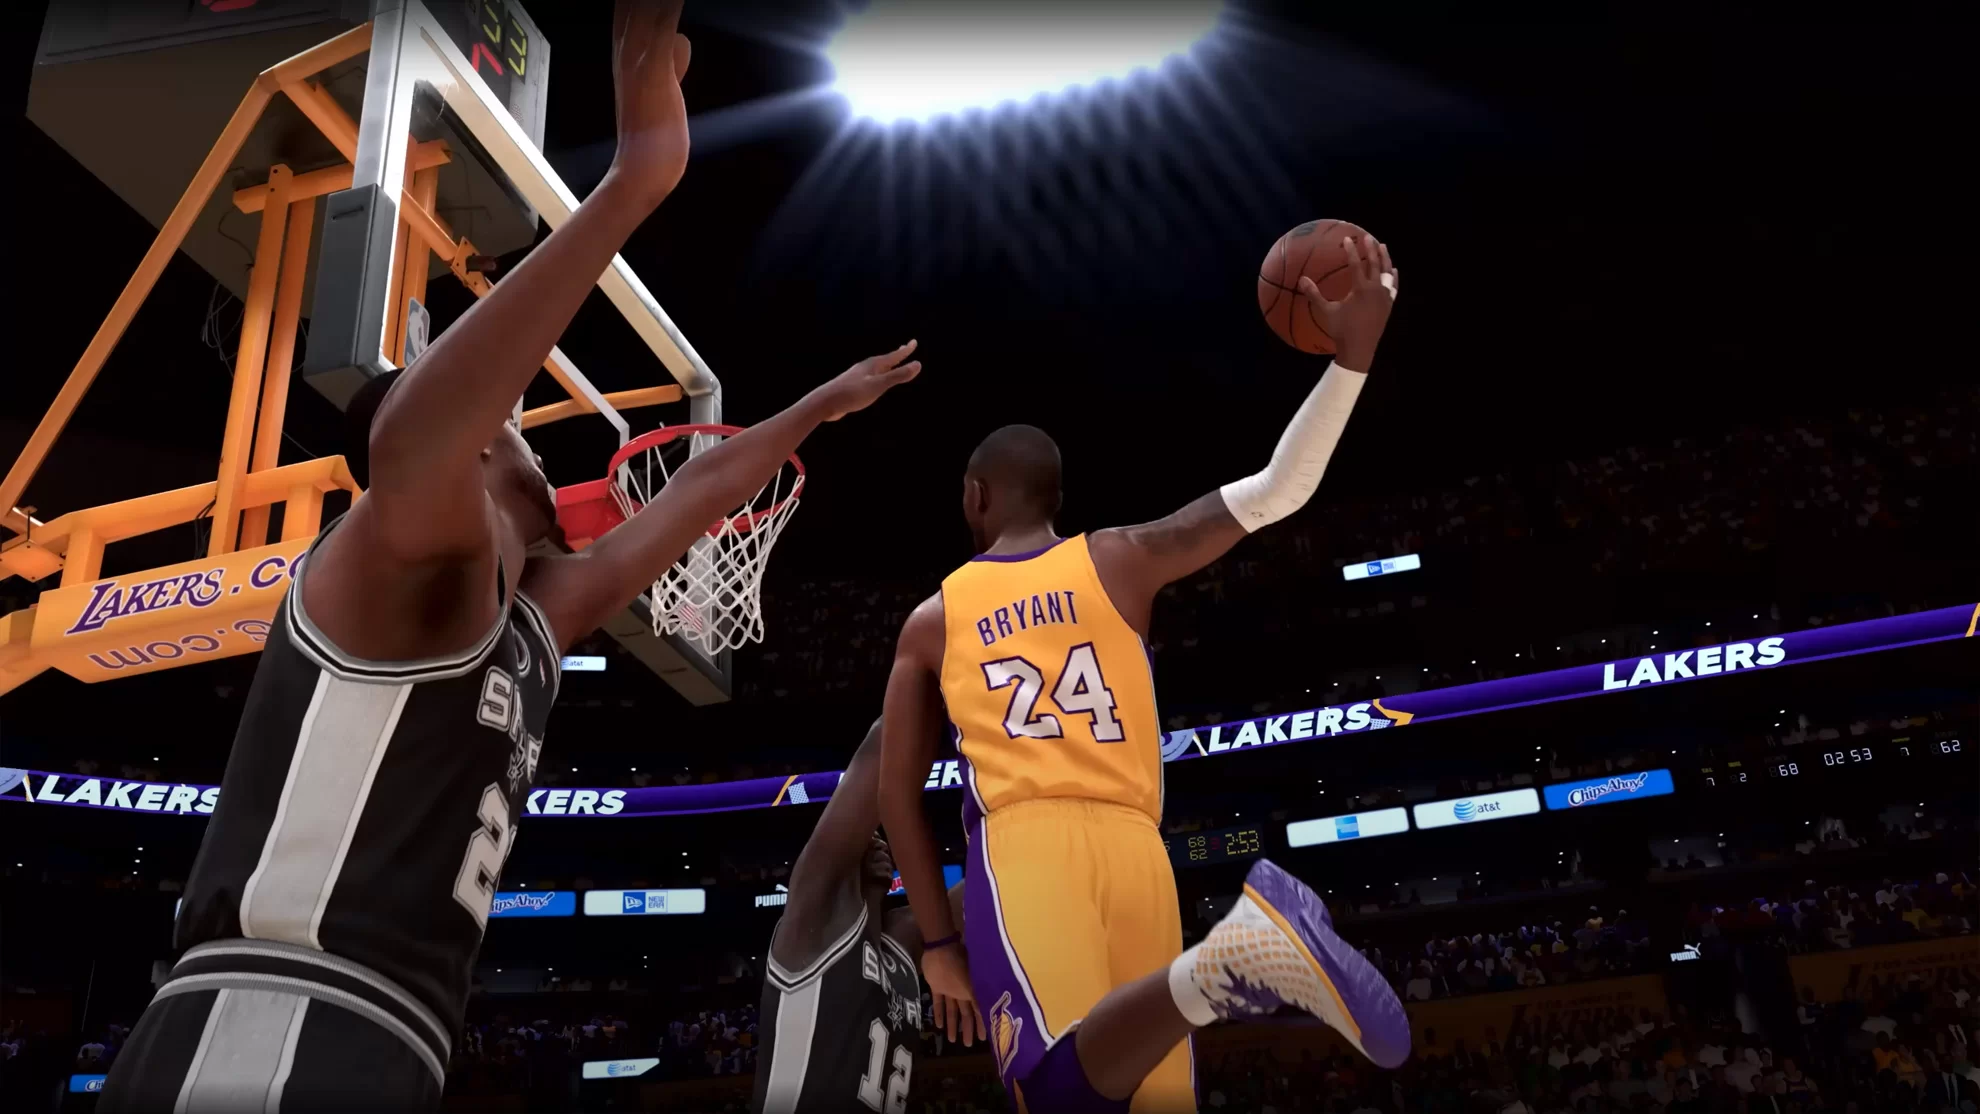
- Watched the animations closely: I paid attention to how my player was finishing at the rim. Was he using the underhand scoops? The floaters? The acrobatic reverses? I needed to see what triggered what.
Putting it All Together
After a bunch of games (and a few frustrating turnovers, not gonna lie), I started to get a feel for things. I realized it wasn’t just about the rating, but also about how I was approaching the basket. Angle, speed, defenders nearby – it all played a *’s all about that muscle memory and knowing when to pull off the right move.
It’s still a work in progress, getting that perfect flashy package, but that’s where I am at!


