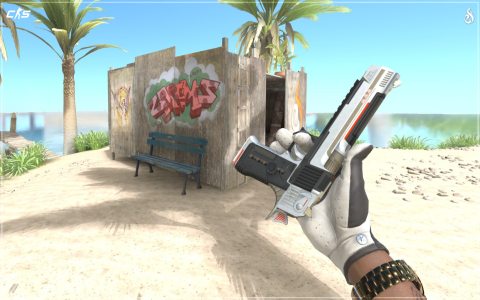
Alright, guys, let’s talk about how I finally got around to skinning my Desert Eagle. It’s something I’d been putting off for a while, but I finally took the plunge and did it!
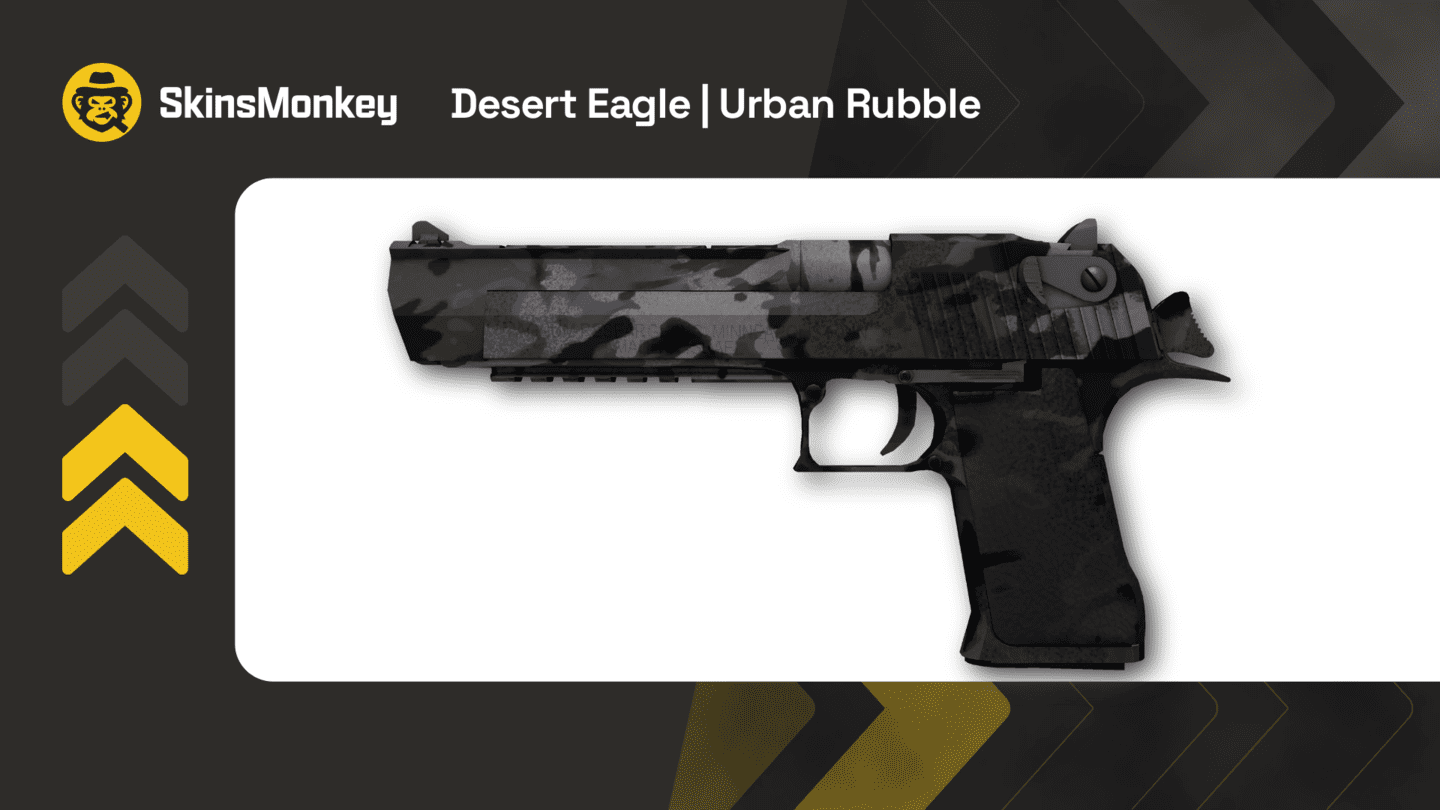
First, I gathered all my materials. Obviously, I had my Desert Eagle. Then I needed the skin itself – I went with a cool, digital camo design I found. It was a vinyl sticker, I decided to put it on both sides of the gun. I also grabbed a heat gun (a hairdryer works, too, but a heat gun is way better), a sharp X-Acto knife, and some rubbing alcohol and a clean cloth.
Getting Started
The most important step is prep work.I made sure my Desert Eagle was completely unloaded. Safety first, always! Then, I used the rubbing alcohol and cloth to thoroughly clean the surface of the gun where I was going to apply the skin. Any dust, oil, or grime will mess up the adhesion, so I made sure it was spotless.
Applying the Skin
Next, I carefully peeled the backing off the skin, exposing the adhesive. This part can be tricky, you don’t want the skin to stick to itself. I started by aligning the skin with one edge of the slide, using my fingers to smooth it down and work out any major air bubbles. I was very slow.
Once I had a good portion of the skin stuck down, I started using the heat gun. I held it a few inches away from the skin and moved it back and forth, slowly heating the vinyl. This makes the vinyl more pliable and helps it conform to the curves of the gun. As the vinyl heated up, I used my fingers to press it down firmly and smooth out any remaining wrinkles or bubbles.
- Heat in small sections. Don’t overheat one area!
- Use your fingers to mold the vinyl around curves and edges.
- Work slowly and be patient. Rushing will lead to mistakes.
Trimming the Excess
Once the skin was fully applied and cooled down, I used the X-Acto knife to trim away any excess vinyl. I went slowly and carefully, following the contours of the gun. A sharp blade is crucial here – a dull blade will tear the vinyl and make a mess.
The Final Touches
After trimming, I did one final pass with the heat gun to ensure everything was securely adhered. I checked for any loose edges or bubbles and fixed them as needed.
And that’s it! My Desert Eagle has a new skin. It was a bit of a process, but totally worth it. The gun looks awesome, and I’m pretty proud of how it turned out. The most important thing I can tell you is, it is not a difficult process, as long as I follow the steps, the effect will be amazing!


