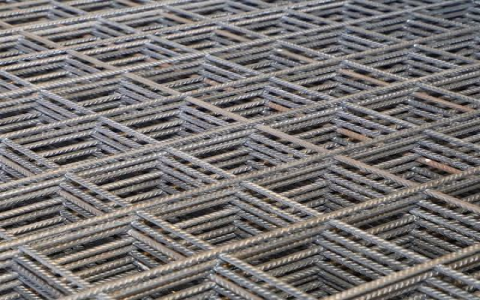
Okay, so I’ve been messing around with rebar lately, you know, the stuff you use to reinforce concrete. I needed to join some pieces together and I wanted something stronger than just overlapping them with ties. I heard about this “ultracite welded rebar” thing, so I decided to give it a shot.
First, I got my rebar. Just regular stuff from the home improvement store. Nothing fancy. Then, I needed a welder. I don’t own one, so I borrowed one from my neighbor, Big Joe. He’s got every tool imaginable. It was a MIG welder, which I’d used before, but not a ton.
Getting Started
I cleaned the ends of the rebar where I was going to weld. This is important – you want to get rid of any rust or dirt. I just used a wire brush and some elbow grease. No fancy chemicals or anything.
Next, I clamped the rebar pieces together. I used some heavy-duty C-clamps to hold them in place. I made sure they were lined up nice and straight, because, you know, a crooked weld is a weak weld.
The Welding Part
Now for the fun part! I put on my safety gear – welding helmet, gloves, the whole nine yards. Safety first, people! I fired up the welder and started tacking the rebar together. Just little spot welds to hold everything in place.
- Tack weld 1: Top of the joint.
- Tack weld 2: Bottom of the joint.
- Tack weld 3 & 4: Sides of the joint.
Once I had the tacks in place, I went back and filled in the gaps with a continuous weld. I tried to keep the heat even and the weld bead consistent. It wasn’t perfect, but it was pretty good for a first timer.
Cooling Down and Checking
After I finished welding, I let the rebar cool down naturally. Don’t quench it in water or anything, that can make it brittle. Once it was cool enough to touch, I inspected the weld. I looked for any cracks or gaps. It seemed solid, so I was happy.
It did the * looks pretty strong.I’ll definitely be using this method again.I recommend trying.


