So, the other day, I decided it was time to give my computer a little TLC. It had been acting sluggish, and I figured clearing out the spotlight cache might just do the trick. I’d heard it could help speed things up, so I thought, “Why not?”
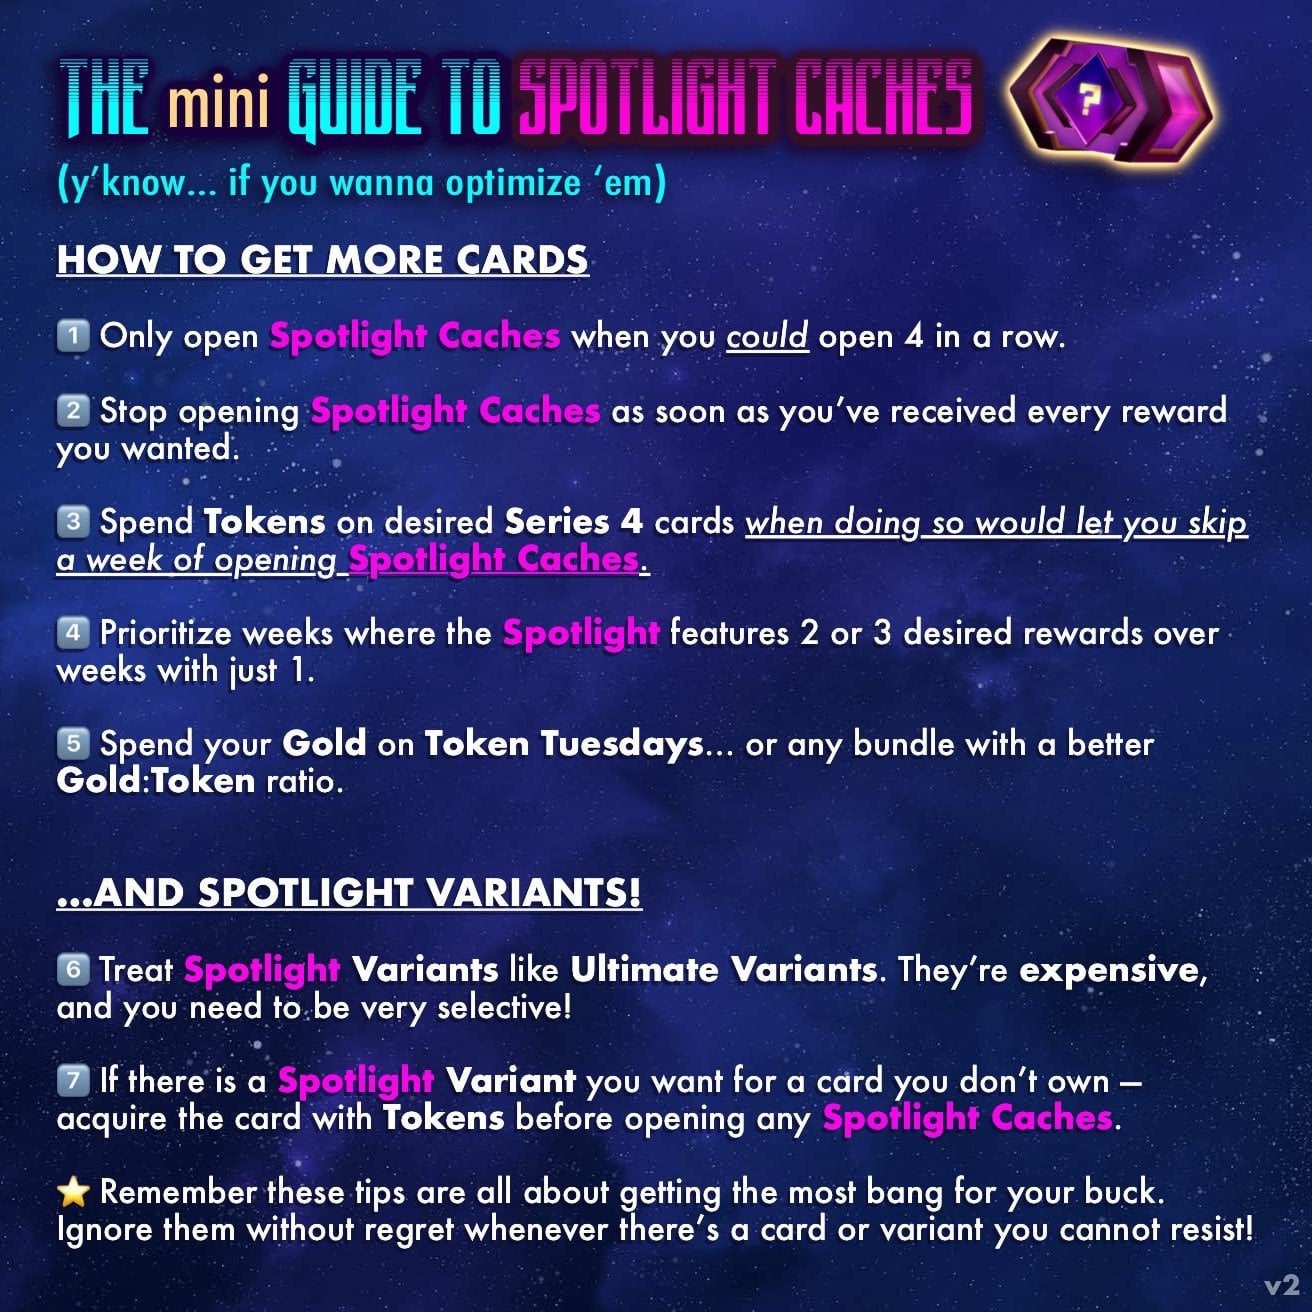
First, I did a bit of digging to understand what this spotlight cache actually is. Turns out, it’s like a memory bank for newly released or high-series cards, you know, the ones you get after you’ve been collecting for a while. I’m way past collection level 500, so I knew I was in the right territory.
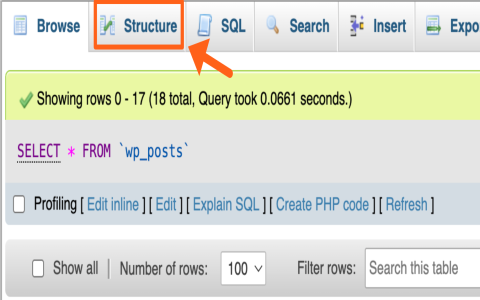
The process seemed straightforward enough. I located the folder where the cache was stored. On my system, it was tucked away in the user library. It felt like I was on a little digital treasure hunt, navigating through folders.
- Step 1: I made sure to close all applications. You don’t want any programs still using the cache while you’re trying to clear it.
- Step 2: Then, I opened up the Finder. You can also use the “Go to Folder” option. I like the Finder because it’s more visual for me.
- Step 3: I navigated to the Library folder. Sometimes it’s hidden, so you might need to hold down the Option key to see it in the Go menu.
- Step 4: Inside, I found the Caches folder and then looked for the one related to Spotlight. It was something like * or similar.
Once I found the right folder, I simply dragged it to the Trash. I was a little hesitant at first – deleting system files always feels a bit risky – but I double-checked to make sure it was just the cache and not something important.
After emptying the Trash, I restarted my computer. It’s like giving it a fresh start, letting the system rebuild the cache from scratch.
The Result?
Honestly, it felt like my computer got a new lease on life! Things were snappier, applications loaded faster, and the overall performance was noticeably better. It’s amazing what a little digital decluttering can do. I make it a habit to repeat these actions every so often to keep things running smoothly. You might want to give it a try too!


