Alright, folks, let’s dive into my little adventure with the Porrima system in Starfield. I gotta say, figuring this whole thing out was a bit of a rollercoaster, so I figured I’d share my experience, bumps and all.
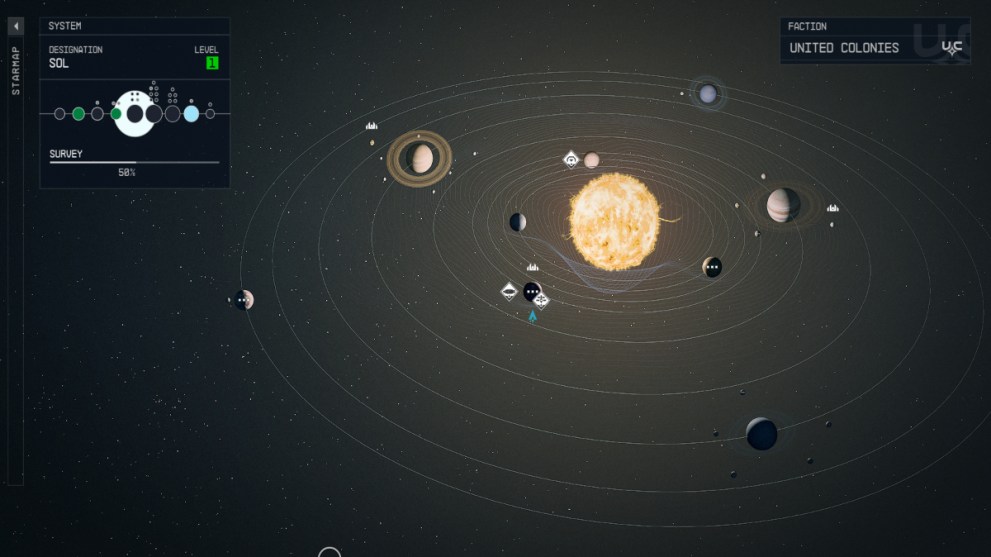
First off, I jumped into my ship and set course for Porrima. I mean, that’s the obvious first step, right? Had to get there to even start messing around. The navigation part? Easy peasy. Just select it on the star map and boom, you’re on your way.
Exploring the Planets
-
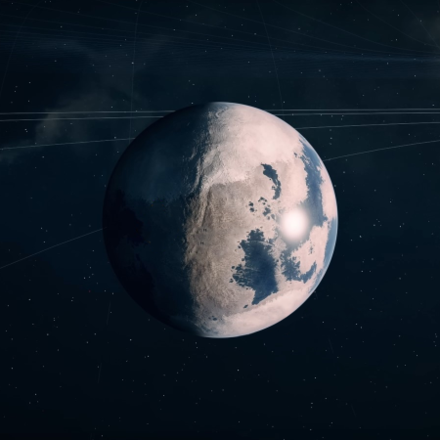
I started to explored each planet in this System, one by one. I made a little list to keep track:
-
Porrima I:Nothing found.
-
Porrima II:Found the Red Mile!
-
Porrima III:Got some resources, nothing super special.
-
Porrima IV-a, Porrima IV-b, Porrima IV-c:Explored these moons, found some stuff, but nothing I’d write home about.
-
Porrima V,Porrima VI-a, Porrima VI-b, Porrima VI-c:Explored.
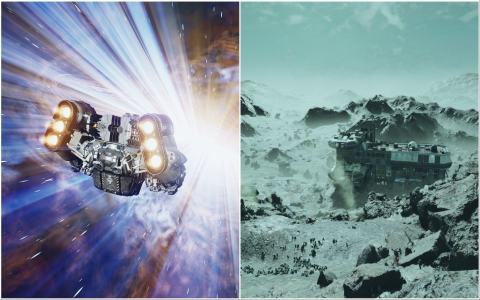
I spent a good chunk of time just flying around, landing on different planets, and seeing what I could find. You know, the usual explorer stuff. Scanned some plants, fought some weird-looking creatures, the whole nine yards. Honestly, it was pretty relaxing, just soaking in the atmosphere of each place.
Red Mile
Figuring out how get there with the quests, I finally found a planet that had something interesting, a place called “Red Mile” on Porrima II.
After landed my ship. I needed go inside the building, talked with one woman at the bar, registered for “Red Mile” quest and started * was tough run. But I did it!
So yeah, that’s basically my Porrima system journey. Lots of flying, a bit of exploring, and a some fighting. Hopefully, this little recap helps you out if you’re heading that way. Happy travels, space cowboys!


