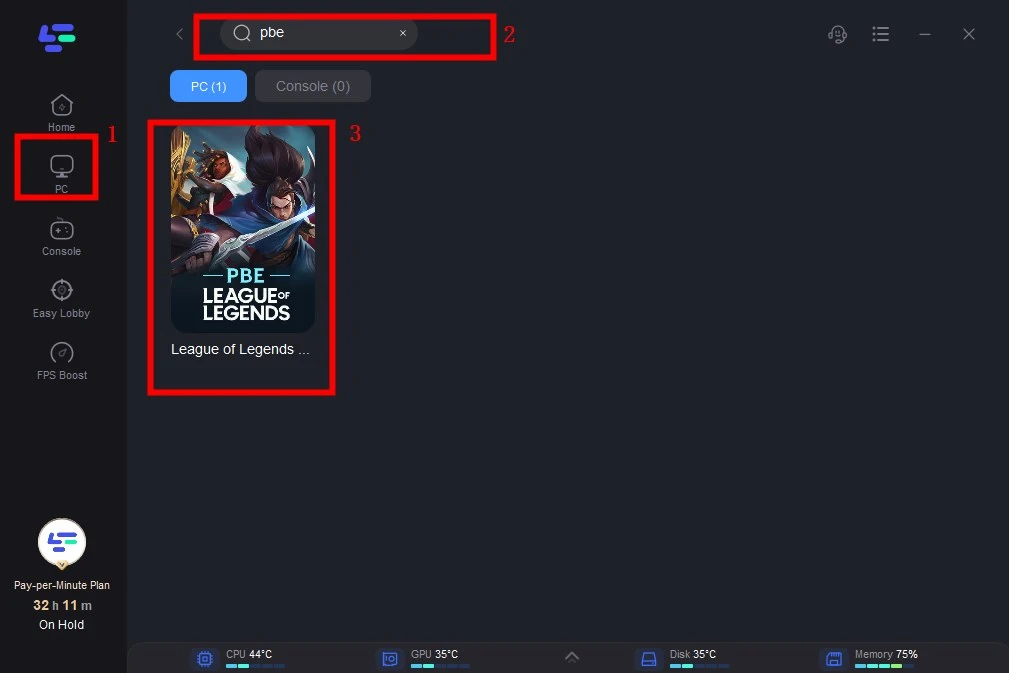
Alright, so I wanted to get my hands on the League of Legends PBE (Public Beta Environment) to check out all the new stuff before it hits the live servers. Here’s how I went about it, step-by-step, so maybe you can, too.
Figuring Out if I Could Even Get In
First things first, I had to make sure my main League account was even eligible. There are some rules, you know? From what I recall your account needs to be in good standing.

Making a PBE Account
I went to the PBE sign-up page. I Logged in with my regular League account.
The website checked if my account was okay, and It was. Awesome!
Then It asked me to create a PBE account. I picked a username and password (different from my main account, just to be safe) and boom, PBE account created.
Downloading the PBE Client
Next, I needed the actual PBE client – it’s a separate download from the regular League game.
There was a download button right there on the PBE site after I signed up, so I clicked that.
It downloaded a setup file, I ran it, and choose a good install spot on my hard drive. I made sure I had enough space, just in case.
Installing and Updating
After installation completed. It’s a pretty standard process, just like installing any other program.
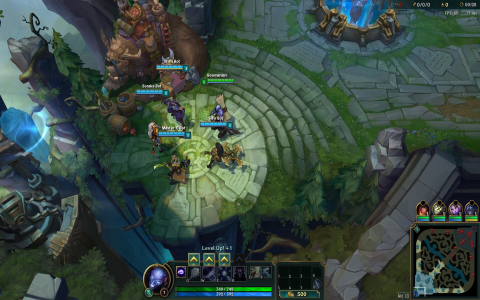
Once it was installed, I launched the PBE client. It started patching, downloading all the latest PBE game files. This took a while because, you know, it’s a whole separate version of the game.
I had to wait it out. My internet’s not the fastest, so I just let it run in the background while I did other stuff.
Logging In and Playing
Finally, the patching finished! I entered my PBE username and password (the ones I created earlier, not my main account info). I selected log in.

And that was it! I was in the PBE, ready to explore all the new champions, skins, and game modes before anyone else. Pretty cool, right?
It’s a bit of a process, but if you’re really eager to see what’s coming to League, the PBE is the way to go. Just remember, it’s a beta environment, so expect some bugs and unfinished stuff. Good luck!


