Okay, so I’ve been wanting to make some Paris-themed stickers for a while now. I finally got around to doing it, and I wanted to share the whole messy, fun process.
Gathering Supplies
First things first, I needed supplies. I’m a bit of a craft hoarder, so I already had some sticker paper, but it was the glossy kind, and I wanted a more matte finish this time. So, I grabbed a pack of matte sticker paper. Also on my list was:
- Scissors (obviously)
- My trusty old printer
- My laptop for designing
The Design Phase (aka Messy Brainstorming)
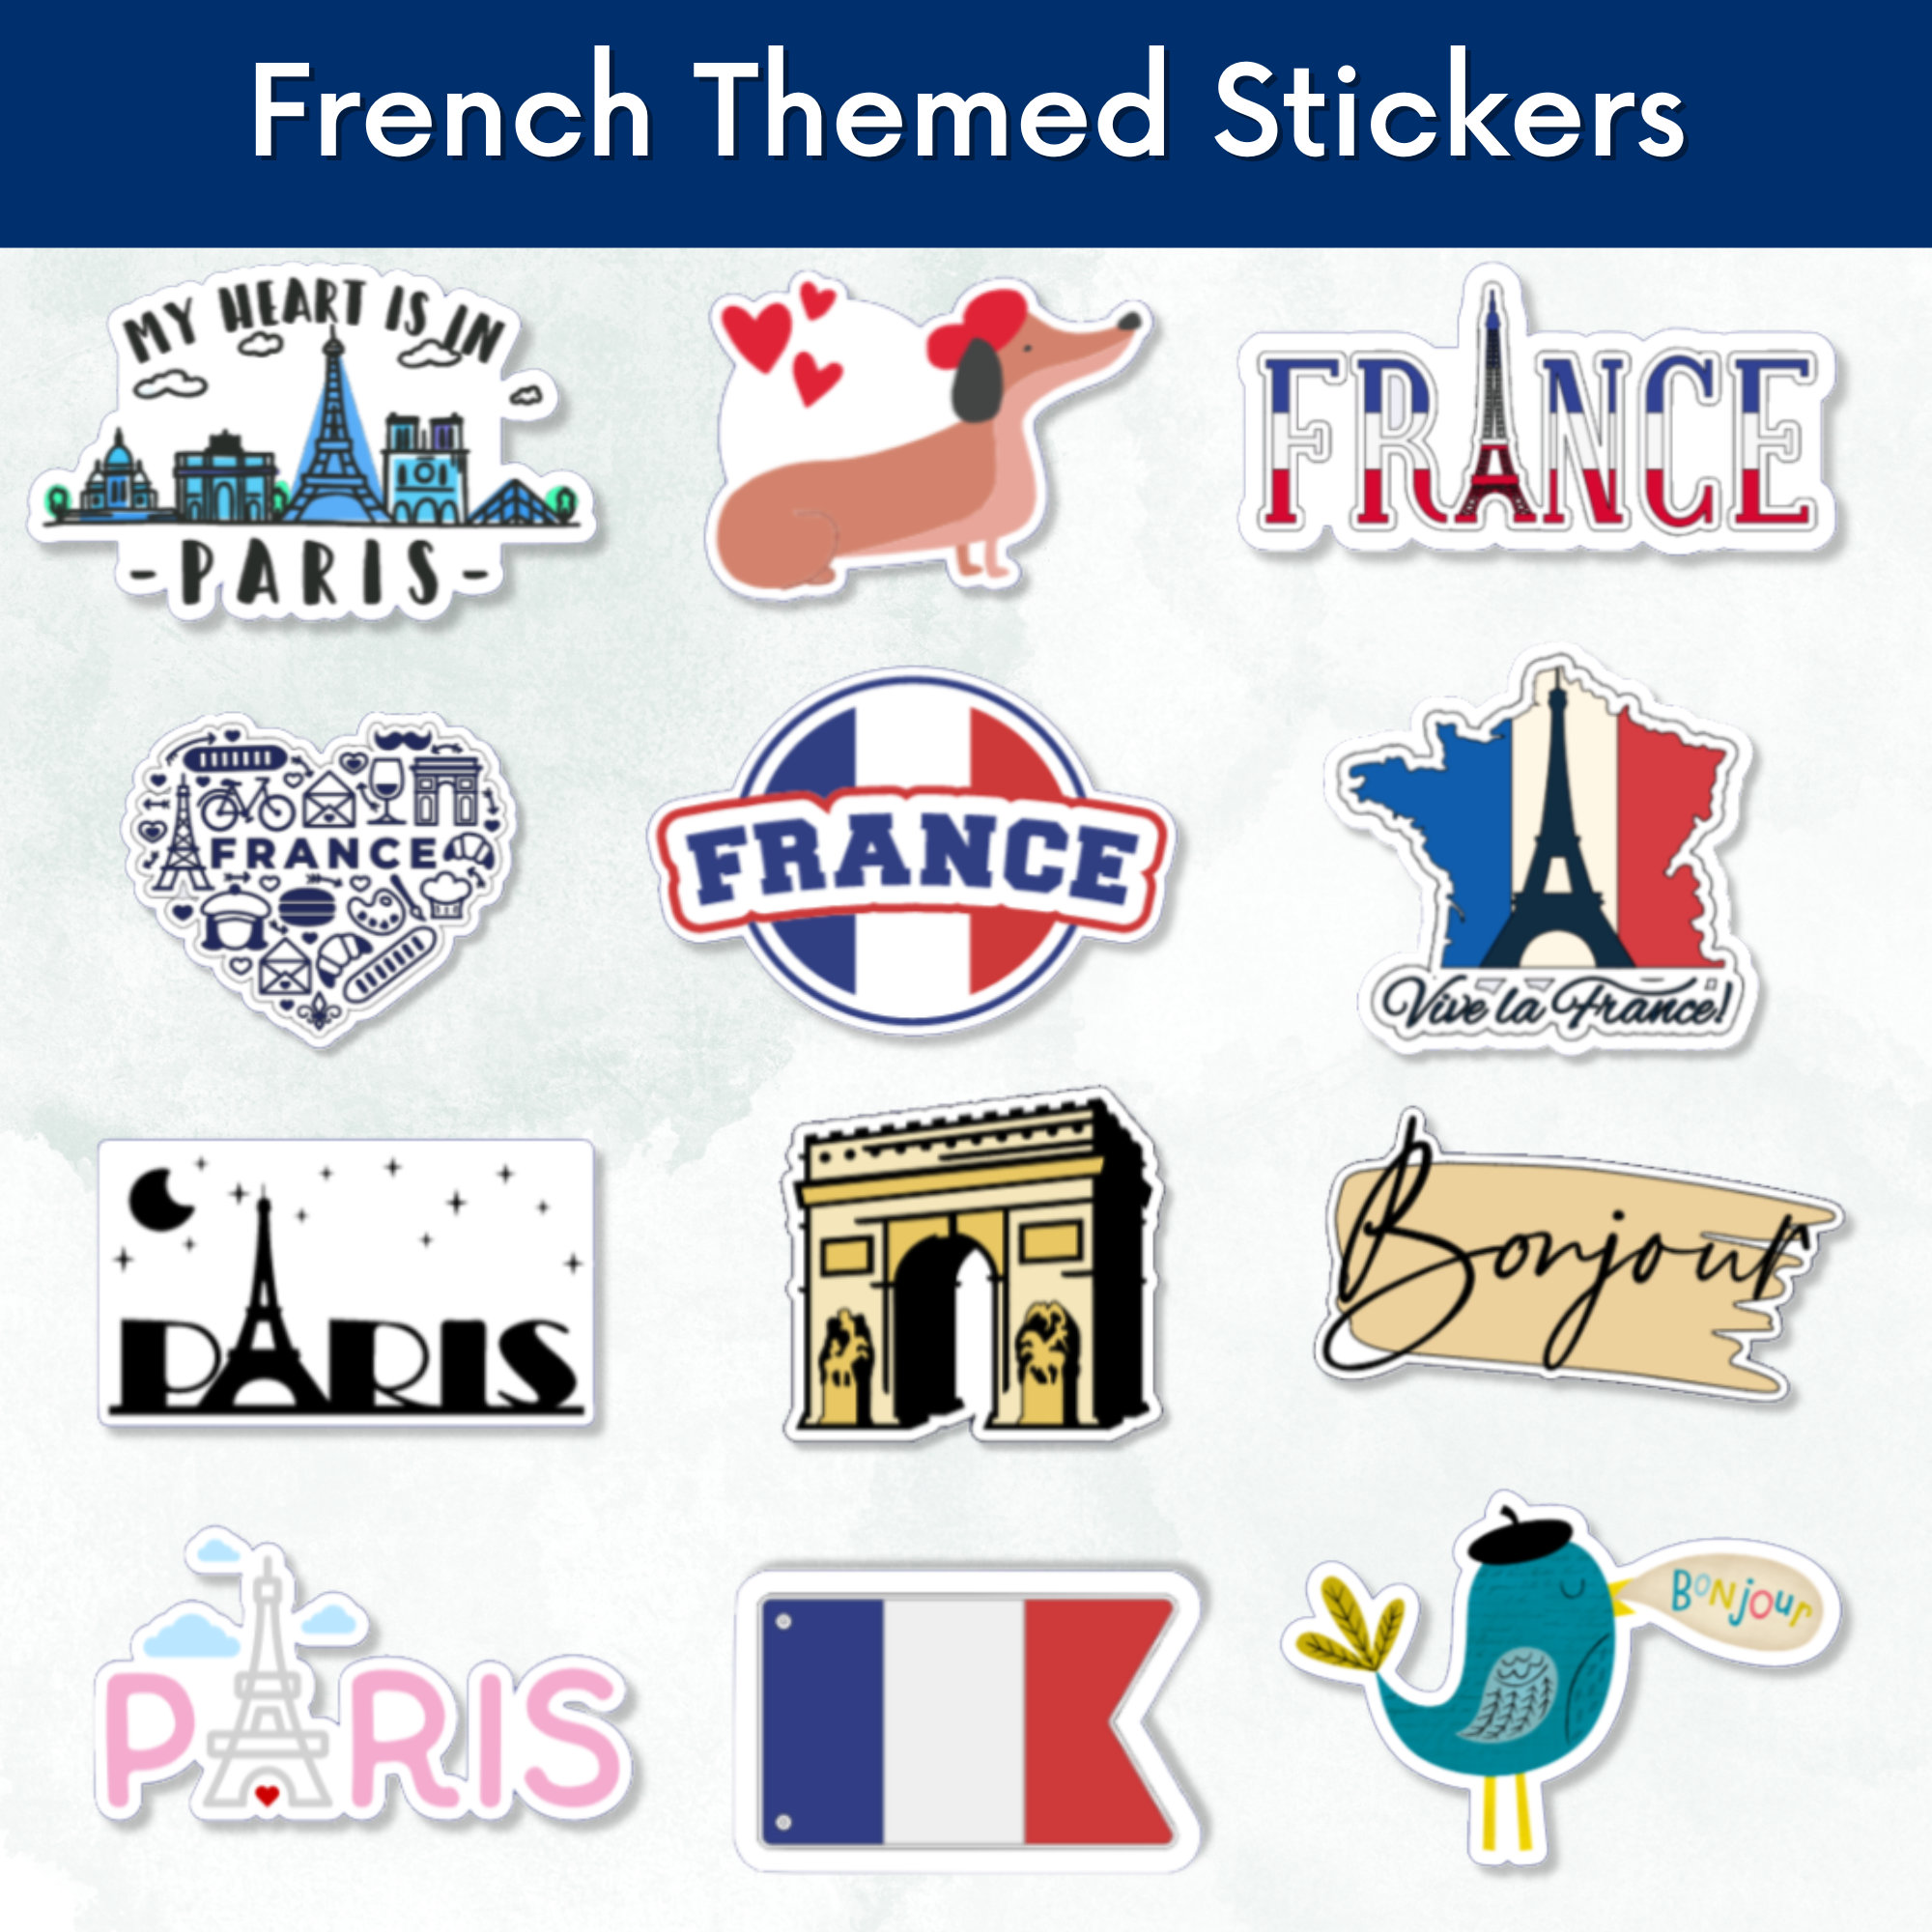
This is where things got a little chaotic. I started by just doodling random Paris-y things – the Eiffel Tower, croissants, cute little cafes, you name it. My sketchbook looked like a toddler had attacked it, but hey, that’s part of the process, right?
I opened up my usual free design program. I use free design program for simple stuff and started playing around. I imported some of my sketches, cleaned them up, and added some text (“Paris, je t’aime,” that sort of thing). I am not good at drawing, It took a while, but I finally had a sheet of designs I was (mostly) happy with.
Printing and Praying
Printing is always a bit of a gamble. I loaded the matte sticker paper into my printer, hit “print,” and crossed my fingers. The colors looked a little off, but honestly, I kinda liked the slightly vintage vibe it gave them.
Cutting Time!
This is the most satisfying part! I carefully cut out each sticker, trying to be as precise as possible (though a few definitely ended up a bit wonky). It took some time, but seeing the individual stickers start to emerge was super motivating.
The Final Result
And there you have it! My own handmade Paris stickers. They’re not perfect, but they’re mine, and I think they’re pretty darn cute. I’ve already stuck them on my laptop, my water bottle, and pretty much everything else I own.
Now I have a bunch of unique stickers and enjoy a nice afternoon.


