So, I wanted to set up a private CS:GO match with my buddies the other day. We were all hyped up to play, but none of us really knew the exact steps to get it going. I mean, we’ve all played tons of CS:GO, but setting up a private match with specific settings? That was new territory for us.
First, I launched the game like I always do, ready to dive in. But then I realized, I gotta enable the developer console first. So, I went into the game settings, found the option, and turned it on. This is crucial, ’cause you can’t do anything without that console.

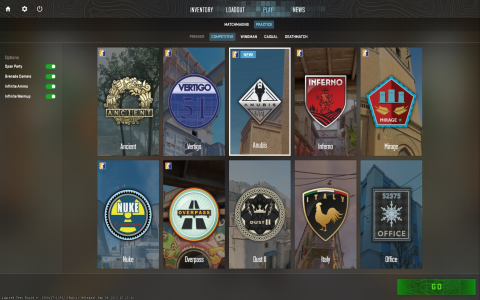
After that, I hit the `~` key, the one right below the ESC key, and boom, the console popped up. Now, I remembered seeing something about using the `map` command to choose the map we wanted to play on. I typed in `map de_dust2` just to test it out, and sure enough, it loaded up Dust2. Cool, so that part worked.
But here’s where it got a bit tricky. We wanted a proper 5v5 match, just us friends. So I dug around a bit online, found some forum posts and stuff, and figured out that there are specific commands to manage bots and team sizes. I experimented with `bot_kick` to get rid of all the bots, and then used `mp_limitteams 1` and `mp_autoteambalance 0` to make sure no one else could join and to stop the teams from auto-balancing.
I also found out that you can create a config file to save all your favorite settings. This was a game-changer. I made a text file, named it `*`, and put in all the commands I usually use for a private match, like `sv_cheats 1` just in case we want to mess around with commands, and `mp_warmup_end` to start the match immediately after the warmup.
- Enable the developer console – You gotta turn this on in the game settings.
- Use the `map` command – Type `map ` followed by the map name in the console to load it.
- Manage bots – `bot_kick` gets rid of all bots.
- Control team sizes – `mp_limitteams 1` and `mp_autoteambalance 0` are your friends here.
- Create a config file – This is a lifesaver. Make a `.cfg` file with all your commands and run it with `exec `.
Finally, to get everyone in the game, I just had to share my IP address with them, they just needed to use the `connect` command in their console to join. Getting the server up and running with everyone connected took a bit of trial and error. Some commands needed tweaking, and I even had to restart the server a couple of times. It wasn’t super smooth, but we got there in the end.
In the end, we had a blast playing our private match. It was awesome to have full control over the game settings and just play with friends. It took a bit of fiddling to figure out all the commands, but it was totally worth it. Now I’ve got my `*` ready to go for next time, so setting up will be a breeze!


